
All of last week, I was craving Cheese Scones- salivating everywhere when I thought about them!! So I gave in & made some & thought, why not show you guys how I did it!!
I got out my trusty baking book I got from Wh Smiths & found a basic scone recipe, of course we needed it to be savoury though so I modified it by taking out the sugar (that would just taste really, really bad in a savoury treat!) & replaced it with cheese- clever me!!
Recipe at a glance:
450g Plain Flour
55g Butter (soften)
100g Cheddar Cheese or alternative + a little extra for topping
250ml Semi-Skimmed Milk
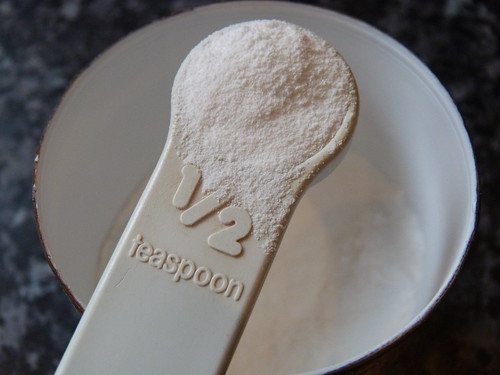
2tsp Baking Powder
Pinch of Salt & Pepper (optional)
1. Start by pre-heating your oven at 220c or 450F, personally my oven is a fan oven which will mean that generally everything cooks a lot faster!
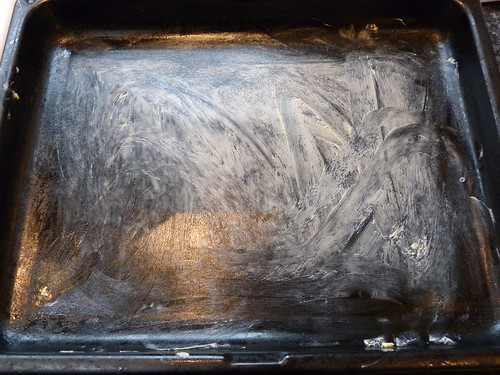
2. Ok, so you don't want your scones to stick to the baking tray because that's just, well it makes life difficult! So to prevent this greasing the baking tray is always a must, I'm using Flora margarine here but butter, spray on oil or baking paper work just as well- use whatever comes to hand!
3. Now lets get into measuring out the ingredients!
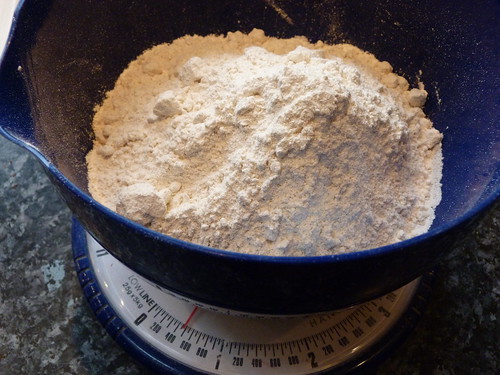
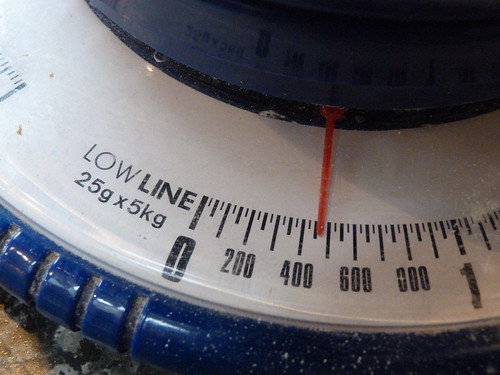
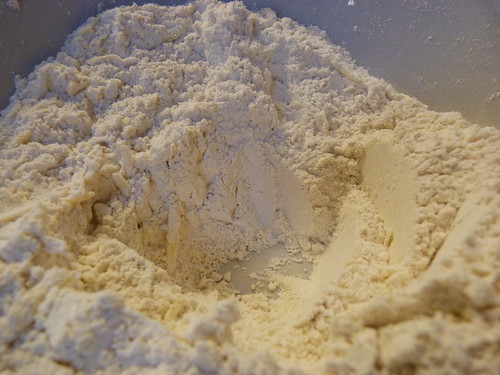
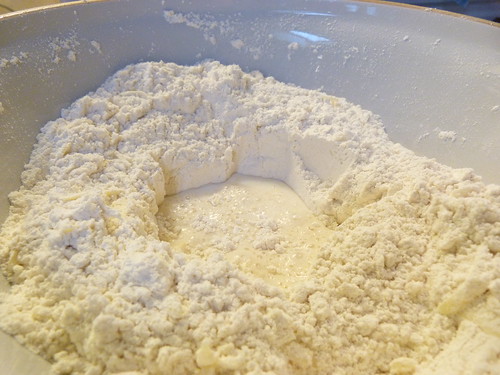
First measure out 450g of plain flour (some recipes use self raising, but this one I'm using says plain!) & then add to that 2 teaspoons of baking powder. Mix it all into together & transfer into a sieve, which should already be placed over the top of your mixing bowl.
4. To prevent lumpy scones sieving is needed, there's no right or wrong way as to how to sieve- just as long as it ends up in the bowl then we are all good! The most simplest way to sieve is to shake the sieve in a side to side motion over the mixing bowl, if I was adding more dry mixture into a bowl then I would use a spoon to push it through the holes, as this prevents flour loss & spillages.
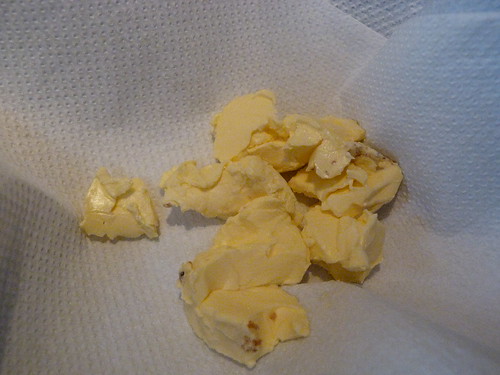
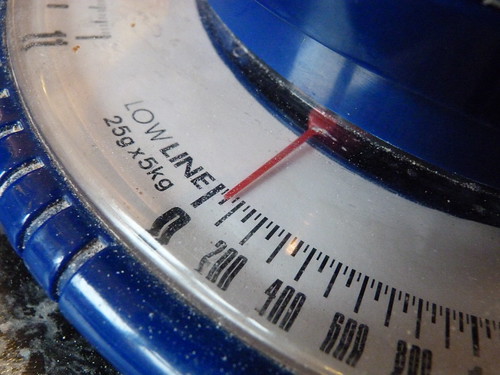

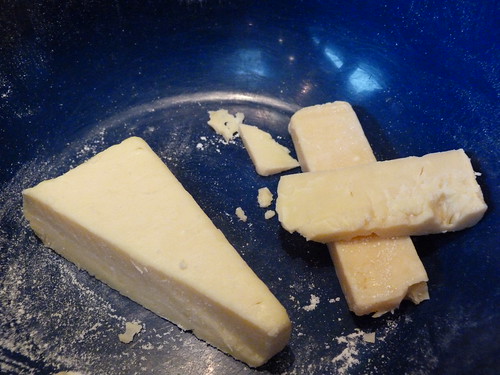
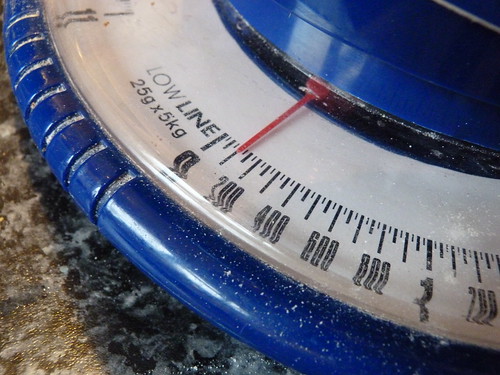
5. Butter time! 55g is needed, which you then need to cut up into small pieces to make rubbing (ooerr!!) easier. Add into the flour & start to rub the butter & the flour together to make a bread crumb-like mixture.
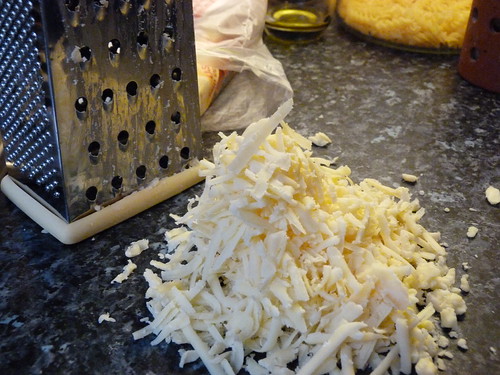
6. Of course cheese scones would not be cheesy without the cheese, so next get 100g (if you want more cheese add another 50g) of cheese & grate it into the mixture & stir in with a wooden spoon- grating the cheese makes life a lot easier as the mixture will not have random lumps of cheese in it & gives an evenly distributed amount of cheese to each scone.
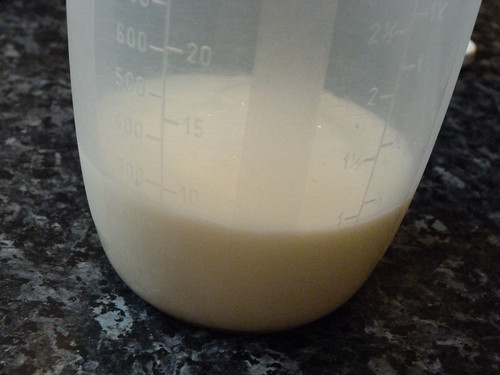
7. Nearly finished I promise! Now all the dry mixture has been created, you need to make the mixture wet so that it all binds together. Create a small hole in the middle of the mixture & start adding (small amounts at a time) the milk into the dry mixture & stir in so that it starts to make a dough ball! As the dough ball gets bigger, personally I like to use my hands so I can feel whether the mixture is too wet/dry, add in more flour/milk if needed & the heat of my hands binds it together better. Now I found that the mixture was slightly too dry, so I added roughly 100ml more milk into the mixture gradually so that it was slightly sticky- if it has lots of cracks in it, then its too dry!
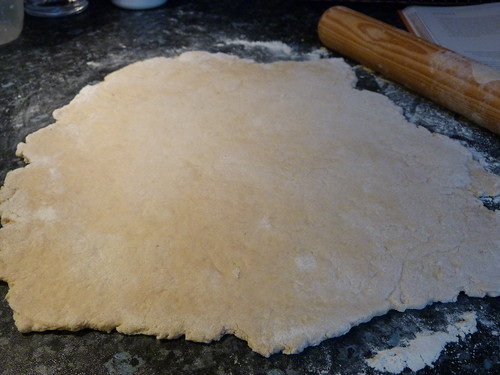
8. Now roll out your dough on a floured surface with a rolling pin- bear in mind how thick/thin you want your scones to be, personally I rolled out mine to be about 2cm thick as the dough does not rise a considerable amount! & then use a cutter to cut out your circular scones.


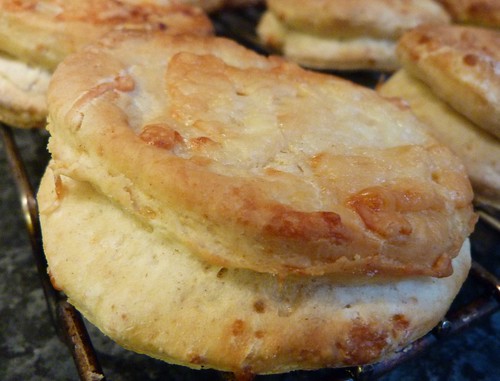
9. Now a tip from me to you, if you want your scones to be easier to cut into & have a designated top & bottom, then cut out two circles & stack them one ontop of the other pushing down ever so slightly to bind them together round the edges. & there you have it! Glaze with milk & add left over sprinkles of cheese to the tops, to make them extra cheesy!
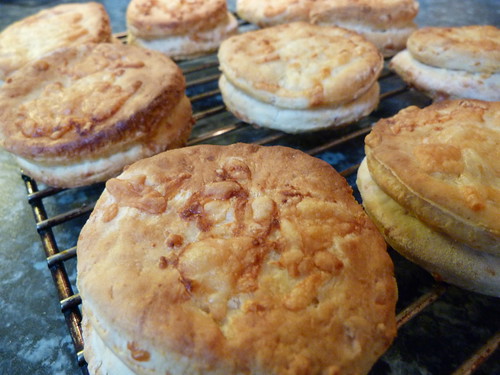
10. Put in the oven for roughly 10-12 minutes (as I said, mines a fan oven so they did cook quicker) or until they look golden & springy! Take them out & put on a wire cooling rack for 5 minuets just to cool, or if you can't wait because the smell of cheese is just too much, then dive in straight away just don't sue me if you burn your mouths!!
And there you have it, a quick & easy way to make cheese scones!
Let me know how you all got on- tweet me pictures or leave me a comment below & I'm now going to run off to have another one of these bad boys, because writing this post has made me crave one so bad!!!
^^ Check out the video for how I made them above ^^
Much Love,
Elle
xoxoxo
♥
No comments
Post a Comment